एक छवि का हिस्सा काटें – Microsoft समर्थन, कैसे एक छवि को मुक्त करने के लिए काटें. और 5 सेकंड में?
कैसे मुफ्त में एक छवि काटने के लिए … और 5 सेकंड में
Contents
शुरू करने के लिए, ऑनलाइन सेवा पर जाएं निकालना.बाग.
एक छवि का एक हिस्सा काटें
फ़ाइलऑफिस में एक छवि के लिए, आप उस छवि के कुछ हिस्सों को हटा सकते हैं जिन्हें आप शामिल नहीं करना चाहते हैं.
जैसा कि नीचे वर्णित है, आप पृष्ठभूमि के स्वचालित विलोपन के साथ शुरू करते हैं. फिर आप मैन्युअल रूप से उस छवि के क्षेत्रों को इंगित करते हैं जिसे आप रखना और हटाना चाहते हैं.
वेक्टर ग्राफिक्स फ़ाइलों के लिए, जैसे कि एसवीजी (स्केलेबल वेक्टर ग्राफिक्स), एडोब इलस्ट्रेटर ग्राफिक्स (एआई), डब्ल्यूएमएफ (विंडोज मेटाफाइल प्रारूप) और डीआरडब्ल्यू (वेक्टर ड्रॉइंग फाइल), पृष्ठभूमि को हटाना संभव नहीं है. इन मामलों में, डिलीट बैकग्राउंड विकल्प ग्रे है.

मूल छवि
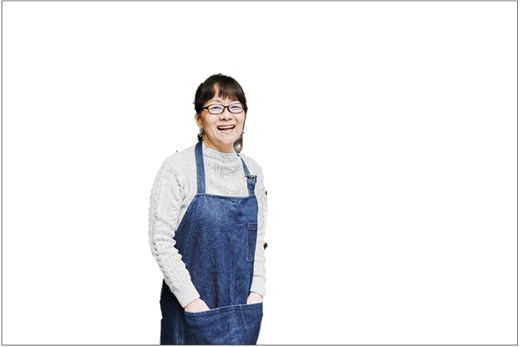
कुछ भागों के बाद एक ही छवि हटा दी गई है
- उस छवि का चयन करें जिसे आप पृष्ठभूमि को हटाना चाहते हैं.
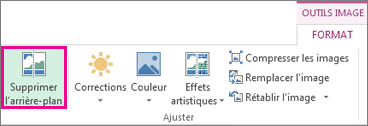
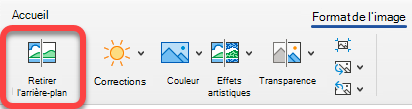
- टूलबार में, चयन करें छवि प्रारूप >पृष्ठभूमि को हटा दें या प्रारूप >पृष्ठभूमि को हटा दें.
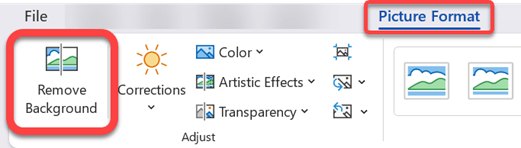 अगर तुम नहीं करते देखें कि आप पृष्ठभूमि को हटा दें, जाँच करें कि आपने एक छवि चुनी है. आपको इसे चुनने और टैब खोलने के लिए छवि को डबल-क्लिक करना पड़ सकता है छवि प्रारूप .
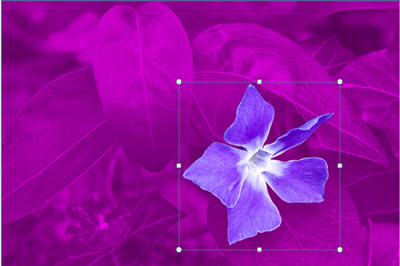
 - डिफ़ॉल्ट पृष्ठभूमि क्षेत्र इसे विलोपन के लिए चिह्नित करने के लिए मैजेंटा रंग है, जबकि अग्रभूमि अपने प्राकृतिक रंग को बरकरार रखता है.
- फिर, टूलबार में, पर जाएं पृष्ठभूमि निष्कासन और निम्नलिखित संचालन या दोनों में से एक करें:
- यदि आप जिस छवि को रखना चाहते हैं, उसके कुछ हिस्से मैजेंटा (विलोपन के लिए चिह्नित) हैं, तो चयन करें निशान, फिर उस छवि के क्षेत्रों को चिह्नित करने के लिए फ्री -शेप्ड ड्राइंग पेंसिल का उपयोग करें जिसे आप रखना चाहते हैं.
- छवि के कुछ हिस्सों के लिए आप हटाना चाहते हैं जो अभी तक मैजेंटा नहीं हैं, चयन करें क्षेत्रों को चिह्नित करें, फिर इन क्षेत्रों को चिह्नित करने के लिए ड्राइंग पेंसिल का उपयोग करें.
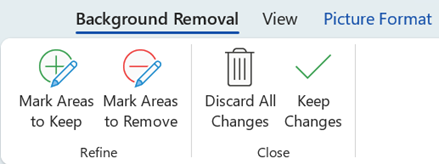
- जब आप समाप्त कर लें, तो चुनें बदलाव रखें. छवि के मैजेंटा क्षेत्रों को हटा दिया जाता है, एक पारदर्शी पृष्ठभूमि छोड़कर.
- यदि आप छवि को बाद के उपयोग के लिए एक अलग फ़ाइल में सहेजना चाहते हैं, तो छवि पर सही -Click, चयन करें छवि, फिर फ़ाइल को अपने डिवाइस पर सहेजें.
साथ ही देखें
- उस छवि का चयन करें जिसे आप पृष्ठभूमि को हटाना चाहते हैं.
- नीचे छवि उपकरण, टैब के नीचे प्रारूप , समूह में समायोजित करना , चुनना पृष्ठभूमि को हटा दें.
- मार्केट लाइन हैंडल में से एक पर क्लिक करें, फिर लाइन को खींचें ताकि इसमें वह छवि का हिस्सा हो जिसे आप रखना चाहते हैं और उन अधिकांश क्षेत्रों को बाहर करना चाहते हैं जिन्हें आप हटाना चाहते हैं.
 आप कभी -कभी ब्रांड लाइनों की स्थिति और आकार के साथ प्रयोग करके किसी भी अतिरिक्त काम के बिना वांछित परिणाम प्राप्त कर सकते हैं.
सलाह : चिह्नित क्षेत्रों को रद्द करने के लिए, चयन करें ब्रांड को हटा दें , फिर लाइन का चयन करें.
- यदि आप जिस छवि को रखना चाहते हैं, उसके कुछ हिस्से मैजेंटा (विलोपन के लिए चिह्नित) हैं, तो चयन करें निशान, फिर उस छवि के क्षेत्रों को चिह्नित करने के लिए ड्राइंग पेंसिल का उपयोग करें जिसे आप रखना चाहते हैं.
- छवि के कुछ हिस्सों के लिए आप हटाना चाहते हैं जो अभी तक मैजेंटा नहीं हैं, चयन करें क्षेत्रों को चिह्नित करें, फिर इन क्षेत्रों को हटाए जाने के लिए ड्राइंग पेंसिल का उपयोग करें.
साथ ही देखें
- छवि का चयन करें.
- टैब का चयन करें छवि प्रारूप रिबन, फिर पृष्ठभूमि को हटाएं चुनें.
 यदि टैब पृष्ठभूमि को हटा दें या छवि प्रारूप प्रकट नहीं होता है, जांचें कि आपने एक छवि का चयन किया है. आपको इसे चुनने और टैब खोलने के लिए छवि को डबल-क्लिक करना पड़ सकता है छवि प्रारूप .
 - डिफ़ॉल्ट पृष्ठभूमि क्षेत्र इसे विलोपन के लिए चिह्नित करने के लिए मैजेंटा रंग है, जबकि अग्रभूमि अपने प्राकृतिक रंग को बरकरार रखता है.
- फिर, टूलबार में, पर जाएं पृष्ठभूमि निष्कासन और निम्नलिखित संचालन या दोनों में से एक करें:
- यदि आप जिस छवि को रखना चाहते हैं, उसके कुछ हिस्से मैजेंटा (विलोपन के लिए चिह्नित) हैं, तो चयन करें निशान, फिर उस छवि के क्षेत्रों को चिह्नित करने के लिए ड्राइंग पेंसिल का उपयोग करें जिसे आप रखना चाहते हैं.
- छवि के कुछ हिस्सों के लिए आप हटाना चाहते हैं जो अभी तक मैजेंटा नहीं हैं, चयन करें क्षेत्रों को चिह्नित करें, फिर इन क्षेत्रों को हटाए जाने के लिए ड्राइंग पेंसिल का उपयोग करें.
- जब आप समाप्त कर लें, तो चुनें बदलाव रखें. छवि के मैजेंटा क्षेत्रों को हटा दिया जाता है, एक पारदर्शी पृष्ठभूमि छोड़कर.
- यदि आप छवि को बाद के उपयोग के लिए एक अलग फ़ाइल में सहेजना चाहते हैं, तो छवि पर सही -Click, चयन करें छवि, फिर फ़ाइल को अपने डिवाइस पर सहेजें.
कैसे मुफ्त में एक छवि काटने के लिए … और 5 सेकंड में ?

फोटोमोंटेज बनाने के लिए एक छवि को डिक्यूट करना अब केवल फ़ोटोशॉप अनुयायियों के लिए आरक्षित अभ्यास नहीं है. एक ऑनलाइन, मुफ्त सेवा, कुछ सेकंड में आपके लिए तथ्य.
आप एक दोस्त के लिए एक मजाक करना चाहते हैं कि वह उसकी तस्वीर काटकर उसे एक और सजावट में जोड़कर काट दे लेकिन इस क्षेत्र में आपके कौशल सीमित हैं ? फोटोमोंटेज की कला अब केवल एडोब फोटोशॉप जैसे छवि संपादन सॉफ्टवेयर के चेतावनी उपयोगकर्ताओं के लिए आरक्षित नहीं है.
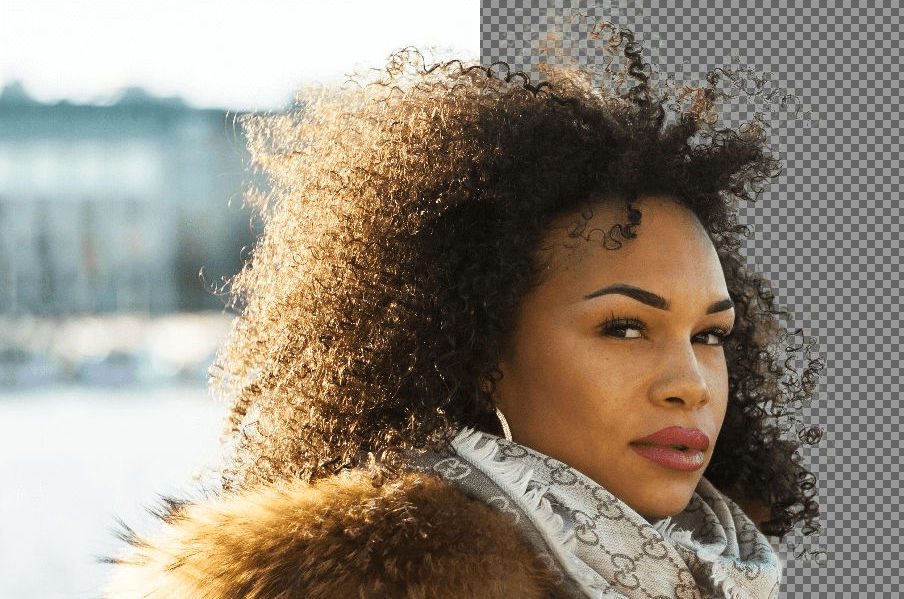
निकालना.बाग, बेंजामिन ग्रोसिंग और डेविड फांखौसर द्वारा विकसित एक ऑनलाइन सेवा, रिकॉर्ड समय में आपकी तस्वीरों की पृष्ठभूमि को हटाने के लिए जिम्मेदार है, बिना आपको अपने हाथों को गंदे करने के लिए. मुफ्त के लिए सुलभ उपकरण, एक कृत्रिम बुद्धिमत्ता का उपयोग करता है जो उन्हें पृष्ठभूमि से अलग करने के लिए एक तस्वीर में लोगों की उपस्थिति की पहचान करता है.
कट छवियों का निर्यात वर्तमान में 500 x 500 पिक्सेल के संकल्प तक सीमित है, लेकिन जल्द ही बेहतर गुणवत्ता की पेशकश करने के लिए विकसित हो सकता है. यहाँ कुछ तेज चरणों में, इसे एक नए परिदृश्य में एकीकृत करने के लिए एक छवि को कैसे काटें.
1. एक फोटो काटें
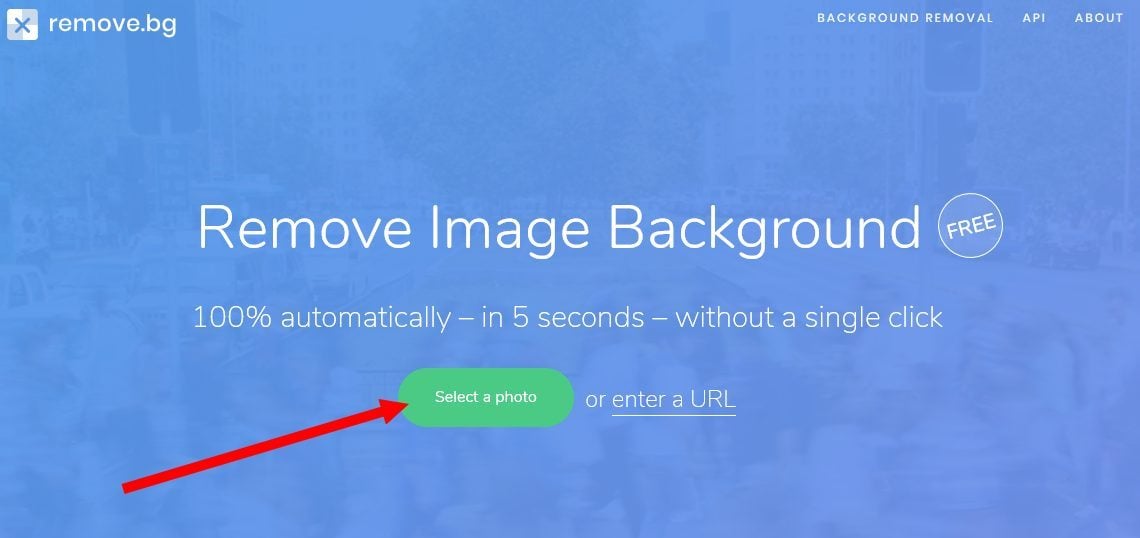
शुरू करने के लिए, ऑनलाइन सेवा पर जाएं निकालना.बाग.
पर क्लिक करें एक फोटो का चयन करें अपने कंप्यूटर की हार्ड ड्राइव पर संग्रहीत छवि चुनने के लिए या लिंक से एक छवि आयात करने के लिए एक URL दर्ज करें पर क्लिक करें.
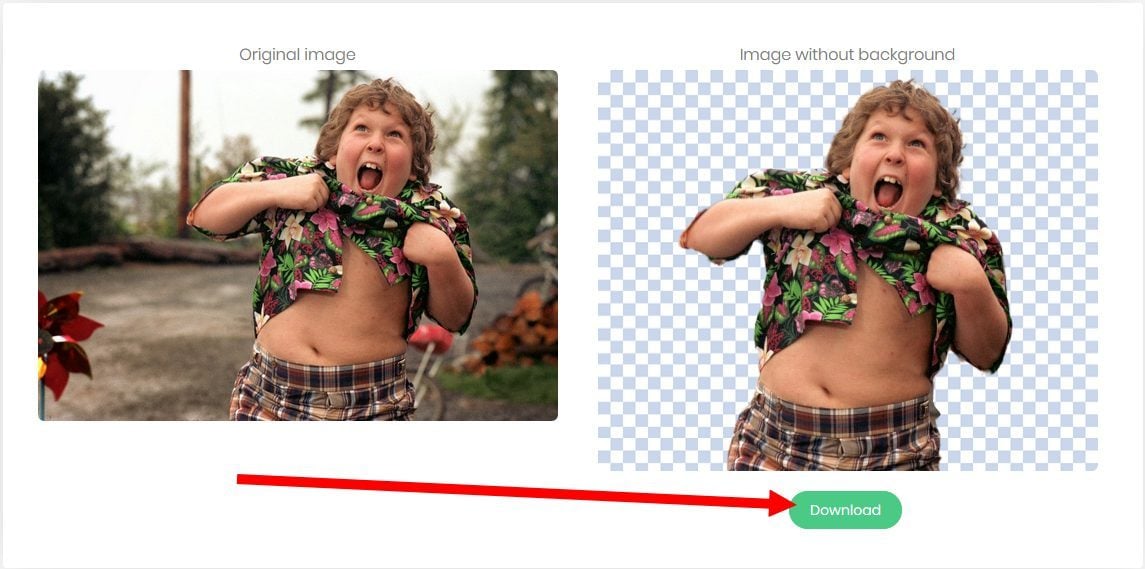
साइट स्वचालित रूप से फोटो में मौजूद लोगों का पता लगाती है और पृष्ठभूमि को स्वचालित रूप से हटाने के लिए जिम्मेदार है. मूल छवि और प्राप्त परिणाम पृष्ठ पर तुरंत दिखाई दे रहे हैं. पर क्लिक करें डाउनलोड करना अपनी हार्ड ड्राइव पर कट इमेज डाउनलोड करने के लिए.
वीडियो पर भी खोजने के लिए
2. एक फोटोमोंटेज बनाएं
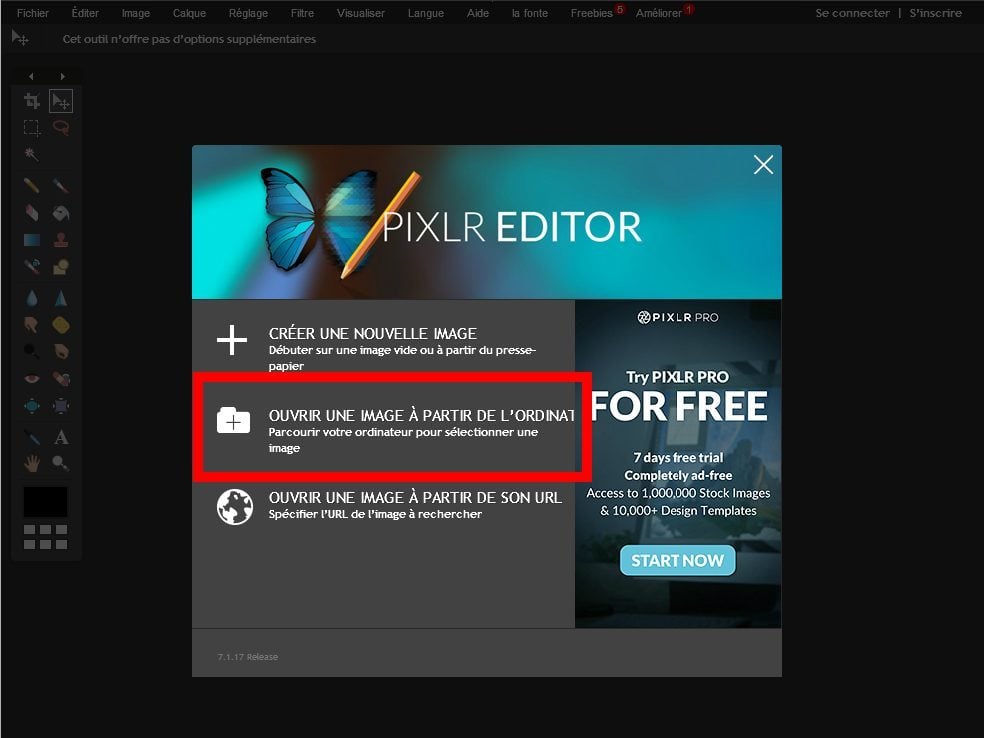
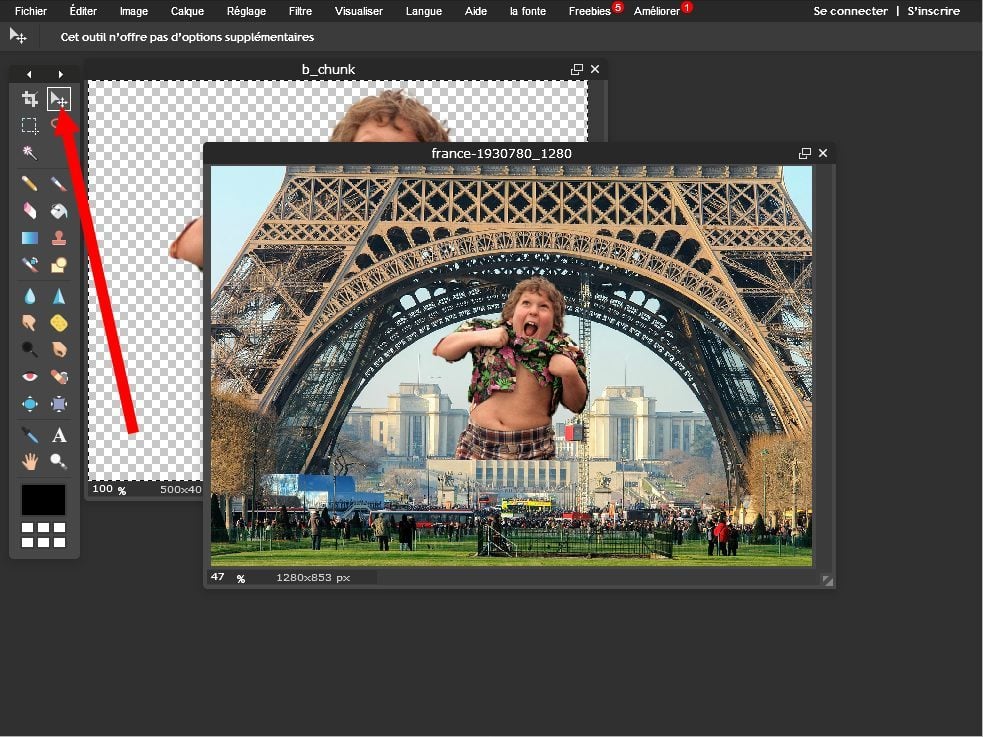
यदि आपके पास अपने पीसी पर स्थापित फोटो एडिटिंग सॉफ़्टवेयर नहीं है, तो अपना पसंदीदा वेब ब्राउज़र खोलें और जाएं Pixlr. यह ऑनलाइन छवि संपादक स्वतंत्र है और आपको अपने ब्राउज़र से छोटे काम और फोटो रीटचिंग करने की अनुमति देता है.
के होम पेज से Pixlr, पर क्लिक करें कंप्यूटर से एक छवि खोलें, फिर उन दो छवियों का चयन करें जिन्हें आप संपादक में आयात करना चाहते हैं (एक ही निर्देशिका की कई छवियों का चयन करने के लिए कीबोर्ड पर CTRL कुंजी रखें).
उस पर क्लिक करके कट-ऑफ छवि के साथ अपने आप को परत पर रखें, कीबोर्ड शॉर्टकट का उपयोग करें Ctrl+a पूरी छवि का चयन करने के लिए, फिर सीटीआरएल+सी इसे क्लिपबोर्ड पर कॉपी करने के लिए.
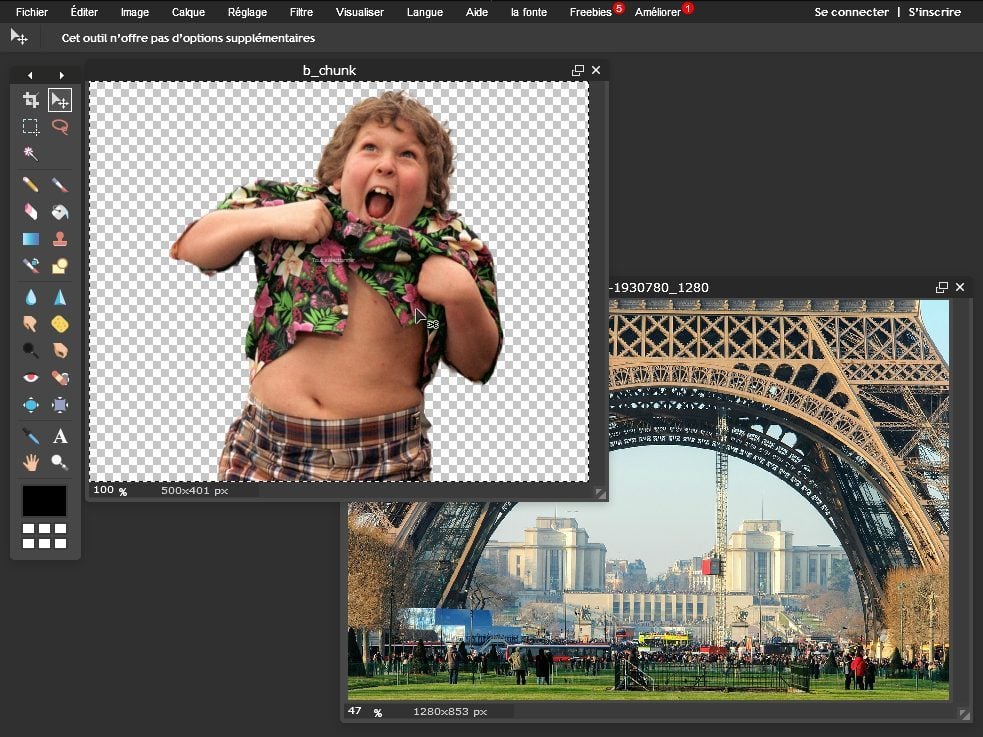
फिर अपने आप को उस छवि पर रखें जिसे उस पर क्लिक करके एक नई पृष्ठभूमि के रूप में उपयोग किया जाएगा, फिर करें Ctrl+v कट इमेज को चिपकाने के लिए. यात्रा टूल (कीबोर्ड कीबोर्ड) चुनें और कट-आउट छवि को स्थानांतरित करें जहां आप इसे पृष्ठभूमि के लिए पृष्ठभूमि पर चाहते हैं.
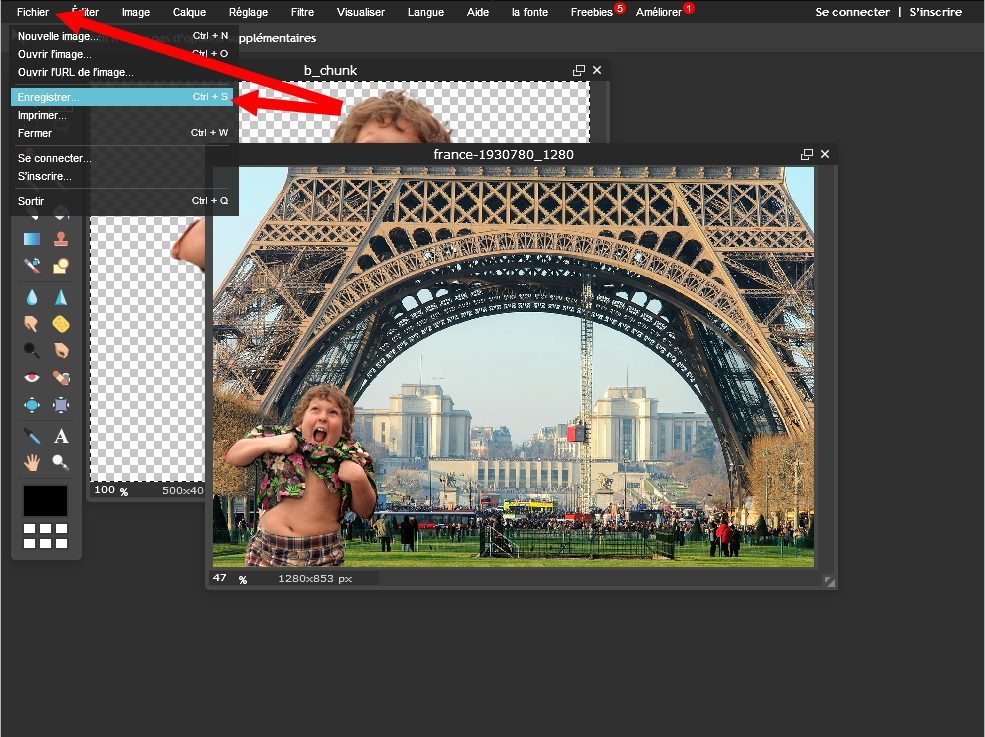
एक बार आपकी छवि ठीक से तैनात हो जाने के बाद, पर क्लिक करें फ़ाइल, तब से बचाना.
अपनी छवि के लिए एक नाम दर्ज करें, समर्पित कर्सर का उपयोग करके रिकॉर्डिंग की गुणवत्ता बदलें, और क्लिक करें ठीक है.
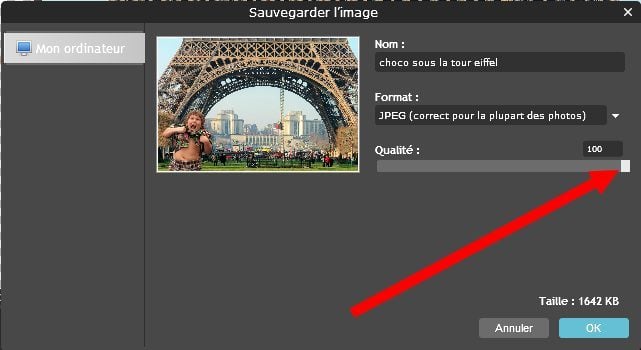
Windows फ़ाइल एक्सप्लोरर खुलता है, एक बैकअप स्थान चुनें और क्लिक करके मान्य करें बचाना.


 Ilyass बैरी – 26 जून, 2023
  मैं आपके साथ अपने बुरे अनुभव b नया एस्ट्रा साझा करता हूं . महीनों में खरीदी गई कार 10/22 में मुझे कैमरे की समस्याओं को समायोजित करने के लिए 360 और एयर कंडीशनिंग को समायोजित करने के लिए -Sales सेवा से लगभग 9 बार स्थानांतरित करने के लिए मजबूर किया गया था और अब मैं एक एनवी समस्या के सामने हूं: कॉकपिट और स्क्रीन जो अपने आप बंद हो जाती है . हैची कामेल और याला वास्लाह डब्ल्यू 5900 किमी वास्तव में मैं निराश हूं .
 WAFA HH – 22 फरवरी, 2022
  लेई राम – 23 फरवरी, 2022